
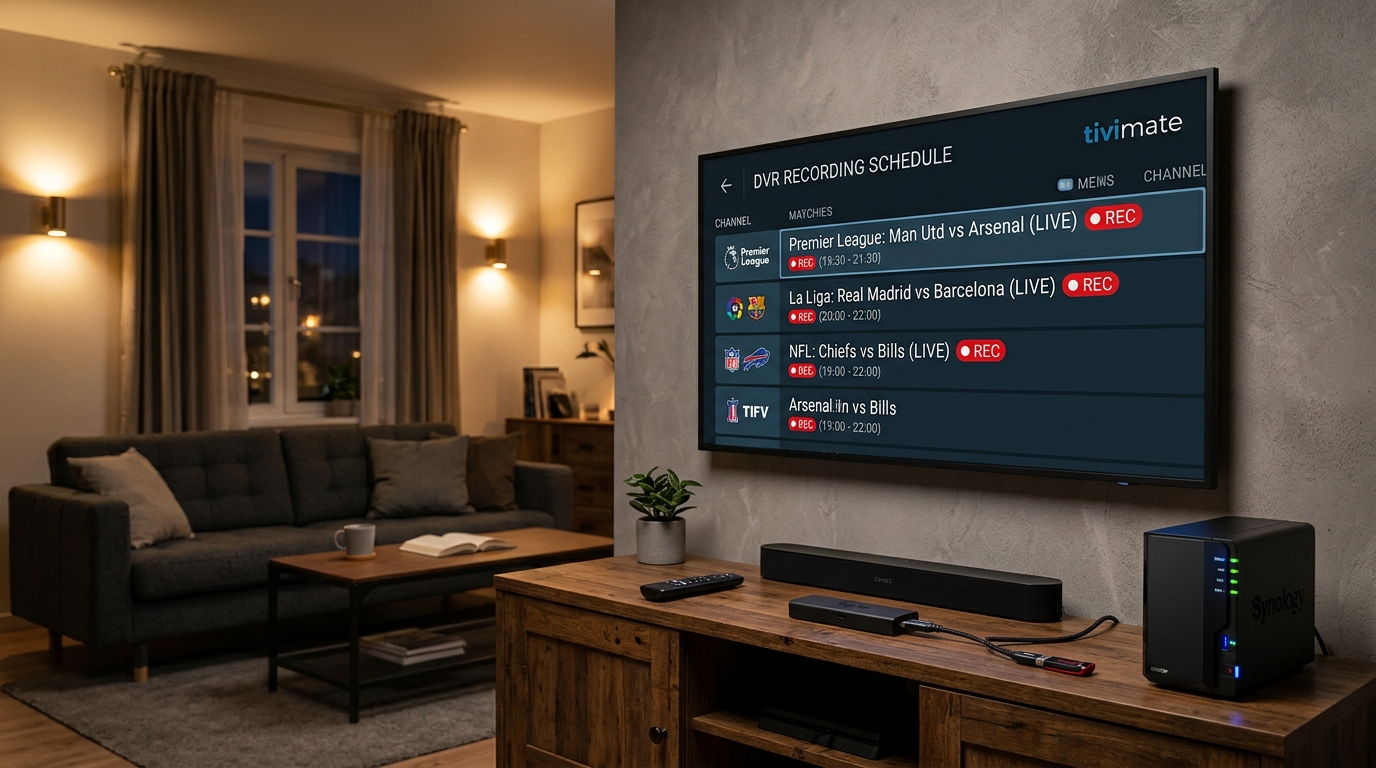
Quick Summary (Recording Prerequisites)
- • Internal Storage Warning: Never record to internal Firestick storage. You will fill the device in under 90 minutes and risk a bootloop crash.
- • Hardware Method: Use an inexpensive Micro-USB/USB-C OTG cable ($5-$8) and a FAT32-formatted USB 3.0 flash drive (32GB to 128GB).
- • Network Method (Best): Set up an SMB 2.0/3.0 network share on your Windows PC, Mac, or NAS router to store unlimited hours of recordings wirelessly.
- • Concurrent Line Rule: If you record Channel A while watching Channel B, your subscription must allow at least 2 connections. Upgrade to a 4K Tivimate Multi-Connection Plan for freeze-free DVR recording.
Why TiviMate DVR Recording Is Essential for Sports & Cord-Cutters
One of the standout features of TiviMate Premium is its fully functional built-in DVR engine. Whether you work late shifts and miss European Champions League matches, or want to archive historic boxing pay-per-views in crystal-clear 1080p 60 FPS, TiviMate allows both on-the-fly manual recording and automated EPG scheduling.
However, because streaming sticks like the Amazon Fire TV Stick 4K Max only ship with limited onboard storage (roughly 5.5 GB available out of the box), recording high-bitrate live video directly onto the stick will trigger "Device Storage Critically Low" errors and terminate your recording prematurely.
Below, we break down the two reliable ways to record on TiviMate: the USB OTG Cable method and the SMB Network Share method.
USB Flash Drive vs. SMB Network Share: Which Should You Choose?
Both methods work seamlessly in TiviMate, but depending on your hardware setup, one may offer greater convenience:
| Feature | USB OTG Method | SMB Network Share |
|---|---|---|
| Setup Complexity | Easy (Plug & Play) | Intermediate (Network Permissions) |
| Storage Capacity | 32 GB – 256 GB (Drive dependent) | 1 TB – 16 TB+ (PC / NAS hard drive) |
| Hardware Needed | Micro-USB OTG cable + USB Stick | Existing PC, Laptop, or Router with USB |
| Multi-Device Access | Locked to that single TV | Playable across all TVs, phones & PCs |
| Best For | Quick standalone setup | Whole-home cord-cutters & massive archives |
Want to Record and Watch at the Same Time?
Don't let your recordings fail due to single-line provider limits. 4K Tivimate offers multi-connection plans with 40,000+ channels and 60 FPS sports.
Method 1: How to Record on Firestick Using USB OTG
If you prefer a self-contained setup on your television without turning on a computer, follow these steps:
- Step 1: Obtain an OTG Adapter Cable
Search Amazon for a "Micro-USB OTG Y-Cable for Firestick" (or USB-C OTG if using modern Fire TV devices). This splitter has a male plug for your stick, a female micro-USB for power, and a full-size USB port for your thumb drive. - Step 2: Format Your USB Drive to FAT32
Amazon Fire OS requires external drives to be formatted in FAT32. On a PC, right-click your flash drive, select Format > File System: FAT32, and click Start. - Step 3: Connect Hardware
Plug your Firestick power adapter into the female micro-USB port of the OTG cable. Connect the male micro-USB into your Firestick, and insert your USB flash drive into the USB port. Fire OS will display a notification: "USB Drive Detected". - Step 4: Configure TiviMate Storage Folder
Open TiviMate, navigate to Settings > Other > Recording > Recordings folder. Click Select folder > Storage provider, grant permissions, and choose your USB drive. Create a folder namedRecordingsand tap Use this folder.
Method 2: How to Record to PC or NAS Using SMB (Wireless)
The SMB method is the cleanest, most professional configuration. It saves all broadcast recordings straight to your home computer or network-attached storage:
Step-by-Step SMB Configuration:
- 1. Create Folder on PC: On your Windows PC, create a folder named
TiviMate-Recordingson your largest hard drive (e.g.,D:\TiviMate-Recordings). - 2. Share Folder Permissions: Right-click the folder, go to Properties > Sharing > Advanced Sharing. Check Share this folder, click Permissions, and check Full Control / Write for your user account.
- 3. Find Local IP: Press
Win + R, typecmd, enteripconfig, and write down your IPv4 address (e.g.,192.168.1.150). - 4. Add SMB in TiviMate: On your Firestick, open TiviMate > Settings > Other > Recording > Recordings folder > Add SMB.
- 5. Enter Connection Credentials:
- • Server address:
192.168.1.150(your PC's local IP) - • Server name:
TiviMate-Recordings - • Username & Password: Your Windows login credentials
- • Server address:
- 6. Confirm Connection: Click Done. TiviMate will connect to your PC, show a green checkmark, and write directly over Wi-Fi!
How to Schedule a Future Recording in TiviMate EPG
Once your storage path is locked in, scheduling broadcasts takes five seconds:
- 1. In TiviMate, press Left on your remote to view the full TV Guide (EPG).
- 2. Scroll horizontally to locate your desired match or show airing later today or this weekend.
- 3. Long-press the OK/Center button on the upcoming show title.
- 4. In the sidebar menu, select Custom recording.
- 5. Add a 5 to 10 minute End buffer (crucial for sports in case of extra time or penalty shootouts), and click Schedule.
Top 4 Fixes for TiviMate Failed or 0-Byte Recordings
1. Disable Firestick Deep Sleep (Energy Saver)
If your Firestick goes into deep sleep, it cuts network power to apps. Go to Firestick Settings > Preferences > Sleep Timer and ensure it doesn't power down during unattended recording sessions.
2. Add Extra Padding / Buffer Time to Sports
EPG times are often estimates. Always configure recordings with +10 minutes post-broadcast padding so you never miss a 90th-minute game-winner.
3. Ensure SMB PC Doesn't Enter Sleep Mode
If recording via SMB, go to your Windows Power Settings and set "Put the computer to sleep" to Never when plugged in.
4. Use High-Speed Anti-Freeze Server Streams
If your provider drops connection for even 3 seconds, TiviMate may close the active video recording thread. Connect your player to 4K Tivimate for redundant, high-uptime feeds.
Power Your TiviMate DVR with 4K Tivimate
Record 40,000+ live channels, enjoy 7-day server-side catch-up, and stream on multiple TVs simultaneously without freezing. Test it free tonight on WhatsApp.